- Always clear your firearm before disassembly
- Most modern 9 mm do not need to be fully disassembled to clean
- Only use gun-based lubricants for the best results
- You do not need to clean your 9mm pistol after every range trip
Knowing how to clean a 9mm pistol is one of those necessary skills for gun owners. This is because 9mm handguns are some of the most common semiautomatics on the market. If you spend any time dealing with firearms, you will eventually encounter a 9mm handgun.
So we are going to cover the process of field stripping (disassembling) a 9mm handgun, how to clean a 9mm pistol, and answer some frequently asked questions. That way, you can handle your 9mm appropriately.
How to Disassemble a 9mm Pistol
Before cleaning, you have to disassemble your pistol. This helps ensure that the gun is in a safe condition and all of the largest parts are accessible. The process is generally referred to as field stripping and does not fully disassemble the pistol, although deep cleaning will require more disassembly.
| Before disassembly, make sure you have: |
|
1. Clear the gun
To make sure all ammunition is not present in the pistol, first remove the magazine by pressing the magazine release. Once the magazine is out of the gun, cycle the slide a few times and visually check to see if there is a round in the chamber.
For added security, you can also reach in to physically check if anything is stuck in the chamber. Dry fire the pistol. Once you are sure the gun is unloaded, you can begin the disassembly process.
| Pistol Magazine release styles |
|
2. Remove the Slide
The primary step in the disassembly process is removing the slide. The slide lock latch or button button--primary is usually found above or just in front of the trigger in most modern semi-automatic pistols.
Pull the slide back (some models may require the slide to be locked back), activate the slide lock, and release the slide forward slowly. It should slide off the frame easily.
3. Remove Recoil Spring
Once the slide is off the pistol, turn it over, and you should see one or more springs with a guide rod. These are the recoil springs and are the next item to be removed.
They are under tension, so you will have to compress the spring and pull the springs out of the slide. This can feel very similar to installing a battery on an older clock. Set the springs and guide rod to the side. Separating them is optional.
4. Remove Barrel
Now it’s time to remove the barrel. Most 9mm models have a tilting barrel, which means they must lock into the slide to function. Press the toggle on the barrel and pull the barrel up and back to remove it from the slide.
Place it to the side where you can easily access it; most of the cleaning will focus on the barrel.
5. Remove Striker (Model Dependent)
Some semi-automatics have a striker. This will require removing the back plate of the gun. You should apply pressure to the back plate to prevent any spring tension from sending your striker into orbit by accident.
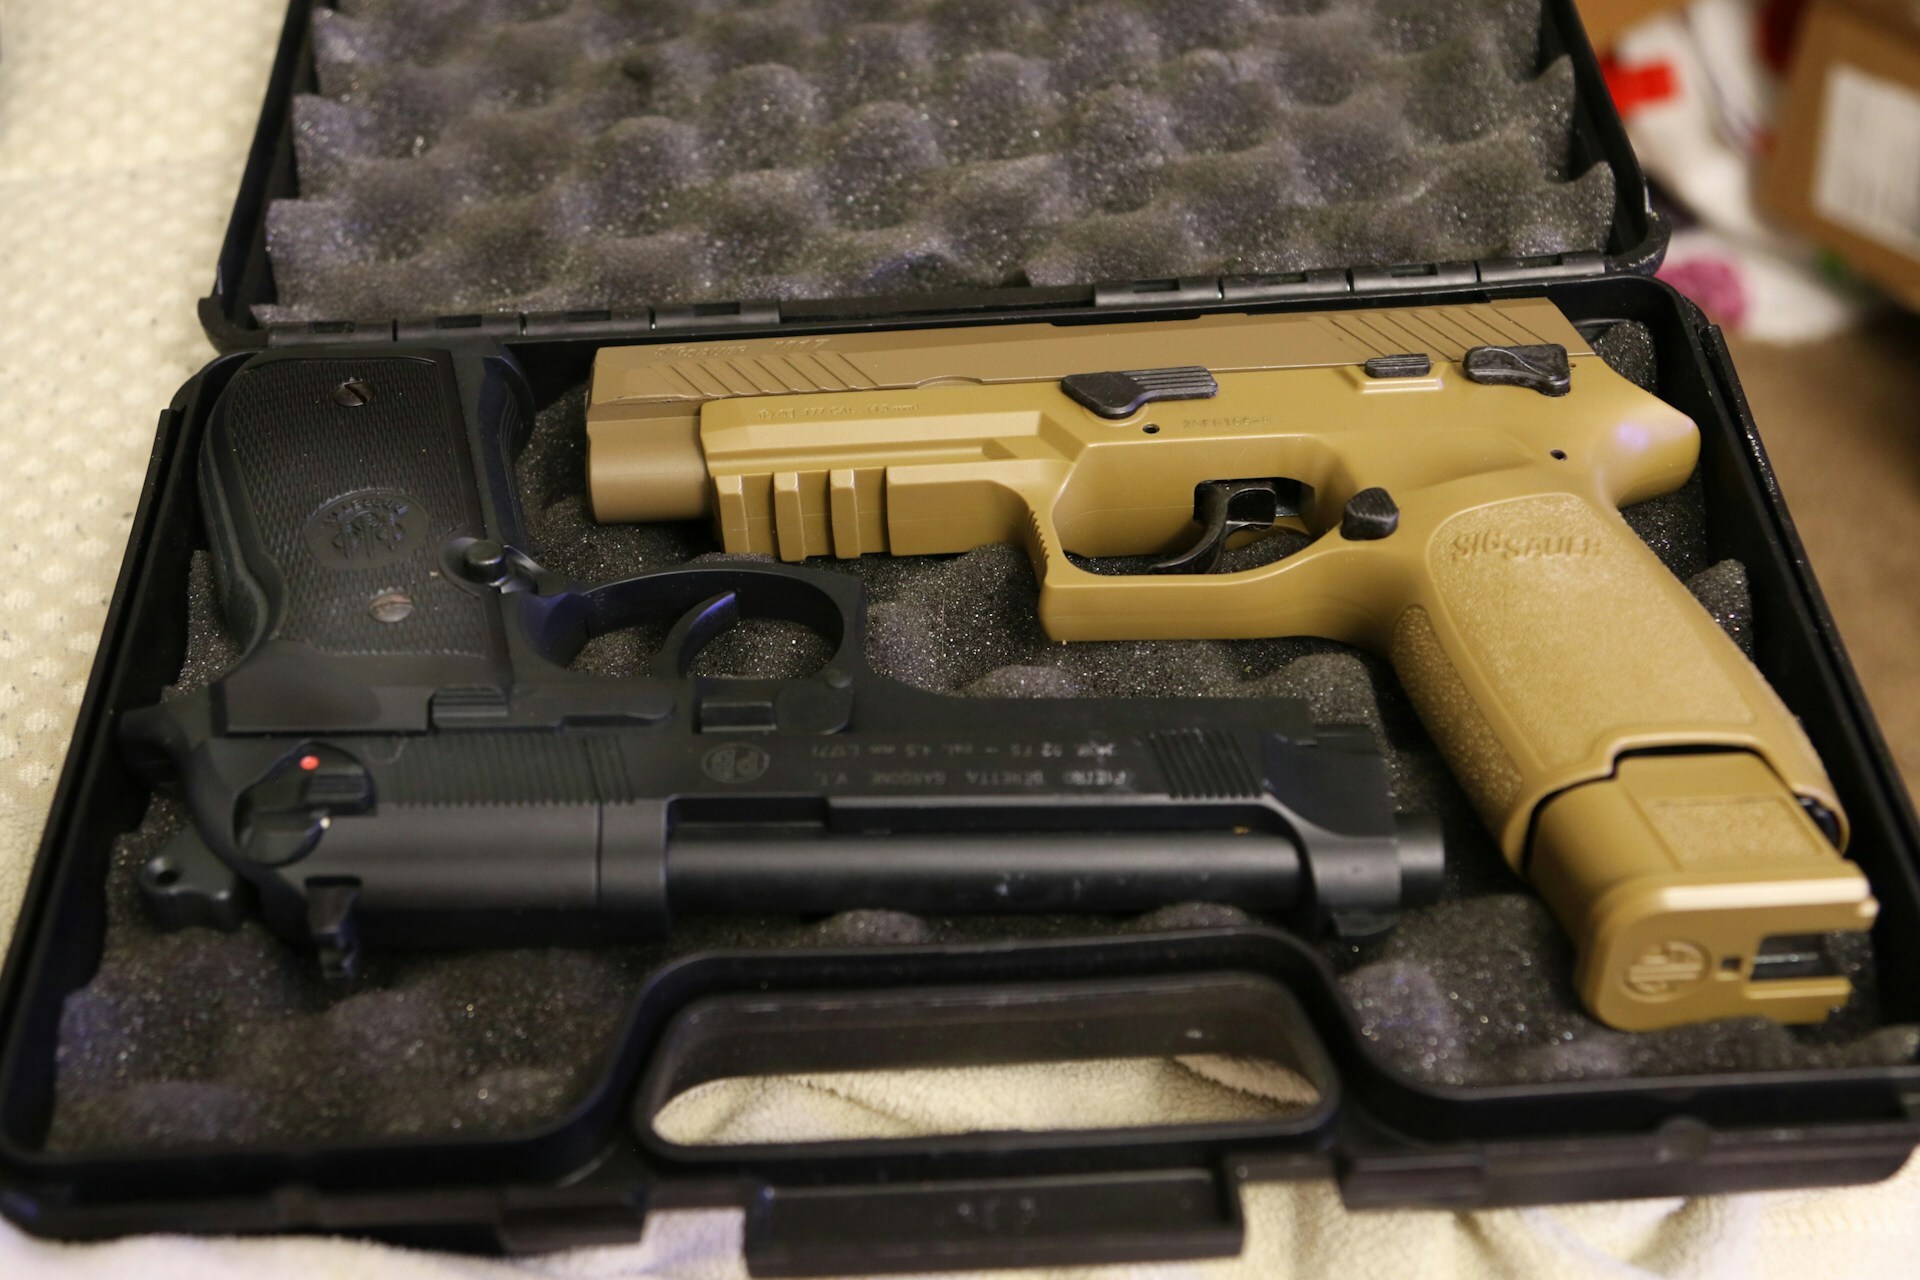
This step does not apply to hammer-fired guns like Berettas 92s and CZ-75s. However, most modern 9 mm have standardized on striker-fired systems.
How to Clean a 9mm Pistol
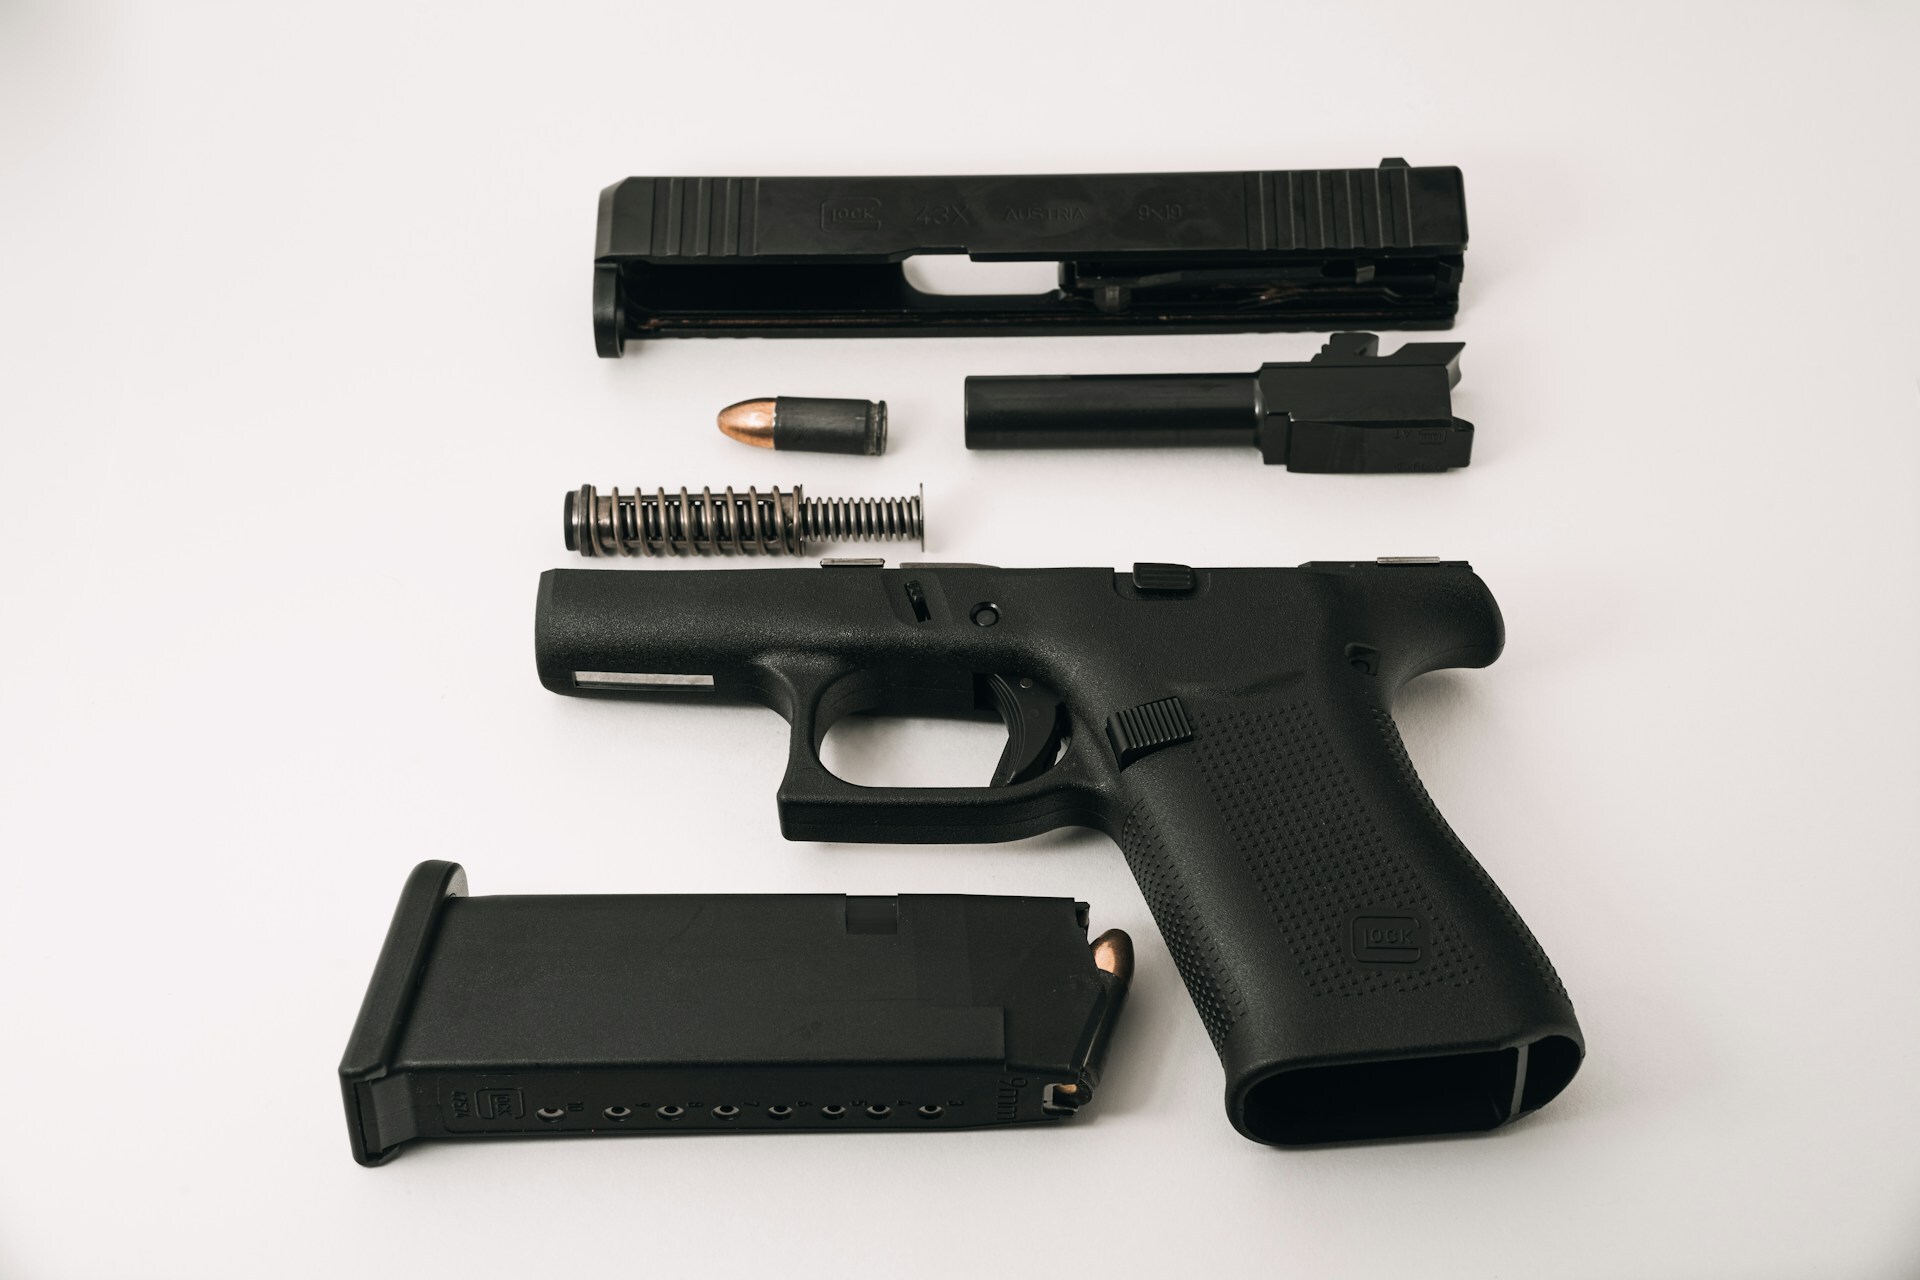
By this point, your pistol should be completely field stripped. That means it is ready for cleaning. Now, cleaning requires a handful of materials, mostly solvents and a way to wipe down the gun.
| Needed Materials | 9mm bore brush Disposable Swabs/Patches (Optional) Jig (Optional) Carbon Solvent/Gun oil Lubricant Rag Brushes (Plastic bristles, nylon, and/or brass) Picks (Optional for some models) |
1. Wipe Down the Barrel
Use your rag to lightly remove any lubricant from the barrel. Do not rub or scrub it too hard; many lubricants need to impregnate the metal to help prevent rust.
Once the outside is passably clean, you can move on to the next step.
2. Clean the Inner Section of the Barrel
The inside of the barrel is going to be the dirtiest part. Here, you can use a 9mm bore brush or a jig-and-patch to clean the inside. Both should either be coated in a carbon solvent or used after a carbon solvent has been applied to the inside of the barrel.
The solvent will loosen the carbon, and the brush/patch will remove the carbon that has been loosened. You can look into the barrel with a light to check if the rifling is clear. If it is. Dry it and apply a light layer of gun oil.
3. Remove Any Visible Carbon in the Slide
Moving on to the slide, you can manually brush away any carbon or debris with a toothbrush or a dedicated cleaning brush. While you can use brass brushes for stubborn carbon, it’s recommended to use softer bristles and a solvent to avoid damaging the slide.
Metal bristles can damage the protective coatings of some guns, increasing the risk of rust and pitting. Be sure to lightly clean the area around the firing pin and the breech face. Avoid putting lubricant down into the striker if one is present (this will cause the striker to slow down).
4. Remove Carbon Built Up in the Frame
Usually, carbon can be easily removed from the frame. Your basic rag, or a rag with some gun oil or solvent, will handle most of the carbon here.
You can clear the magazine well if you see any debris, but most of the carbon buildup will be on the slide and in the trigger/striker areas.
5. Apply Lubricant To Some of the Action Points
Once the carbon has been removed, it’s time to add lubrication. For most 9mm pistols, this will be on the slide rails. The rails are where the most friction occurs during firing, so they need to be lubricated for smooth results.
If you wonder where your gun’s action points are, most models have a manual that identifies where the gun needs lubrication and even includes recommendations for the lubrication to use. This will be included with the gun if it is new or available on the manufacturer’s website.
6. Reassemble Your Pistol
Once your pistol is clean, it’s time to put everything back together. This is as easy as reversing the disassembly process, which is one of the reasons you should have a clean area to set your parts.
This area allows you to set them out to enable a more efficient reassembly process. You can set up the parts in either a left-to-right or a right-to-left fashion, depending on your preference. The main focus is that you remember the order in which the parts were taken out.
Frequently Asked Questions
Is WD-40 Good For Cleaning Pistols?
No. WD-40 is not good for cleaning pistols. While it is a lubricant, it dries and hardens into a hard or tacky substance that will induce malfunctions in the gun, in addition to being hard to clean off.
How Often Should You Clean a 9mm Pistol?
A modern 9mm pistol should be cleaned every 500-1000 rounds. If you have reliable magazines and start to experience malfunctions, this is a sign to clean the pistol.
What is the Best Thing To Clean a Pistol With?
A pistol is best cleaned with carbon solvents, oils, and lubricants designed for use with firearms. Ballistol and Hoppes 9 are classic examples of these, while Slip2000 and CLP are more modern examples.
Can I Use Dawn Dish Soap To Clean a Gun?
Dawn dish soap can be used to clean firearm parts in sonic cleaners, but it is not recommended for general cleaning purposes.