Shooting instruction highly emphasizes proper stance. You may have heard it all before — feet shoulder-width apart, lean slightly forward at the hips, left foot ahead of the right foot if you're right-handed, knees slightly bent and so on.
It's easy to focus on proper sight alignment and grip while overlooking stance. All of the action happens at the muzzle, after all, so why should it matter how you're standing? Proper shooting stance actually plays a key role in the process, as it can affect your overall accuracy. Additionally, different positions are suited to specific applications more than others.
Read on to explore the four standard rifle shooting positions — standing, kneeling, prone and sitting — as well as their benefits, tips and when to use each one.
Importance of Shooting Positions and Good Stance
Whether you're shooting a rifle, pistol or shotgun, having a solid stance is essential. When we discuss shooting stance, we're referring to the position of the body and feet relative to the target. It may sound like a simple concept, but it's among the most vital elements of shooting.

Think of your shooting stance as the foundation of your form. If you establish a strong, stable position beforehand, it can positively influence the rest of your shooting technique — like sight alignment, breath control and trigger technique — as well. Consistency in all shooting areas is important, but your stance essentially lays the groundwork for building consistency in every other aspect.
There are multiple ways to arrange your body for an accurate shot. While some shooters swear that there's only one right stance, each one has its own strengths and shortcomings. Some are ideal for defensive positioning and personal protection, while others lend themselves to competitive shooting or hunting where precision is key.
However, all effective shooting stances have a few things in common, like good balance, foot positioning and weight distribution. The next few sections will explore the four main rifle shooting stances in depth.
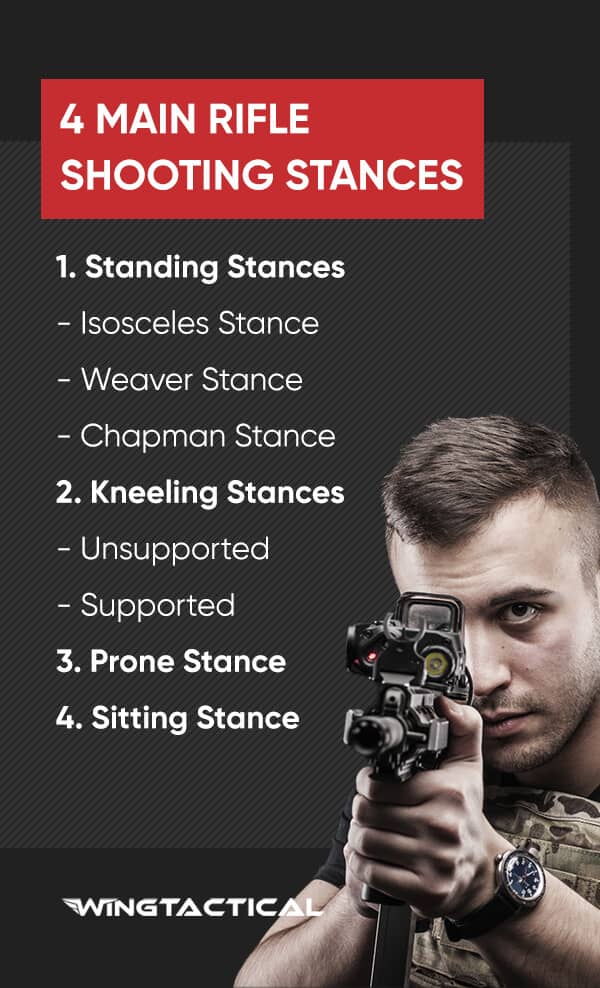
1. Standing Stances
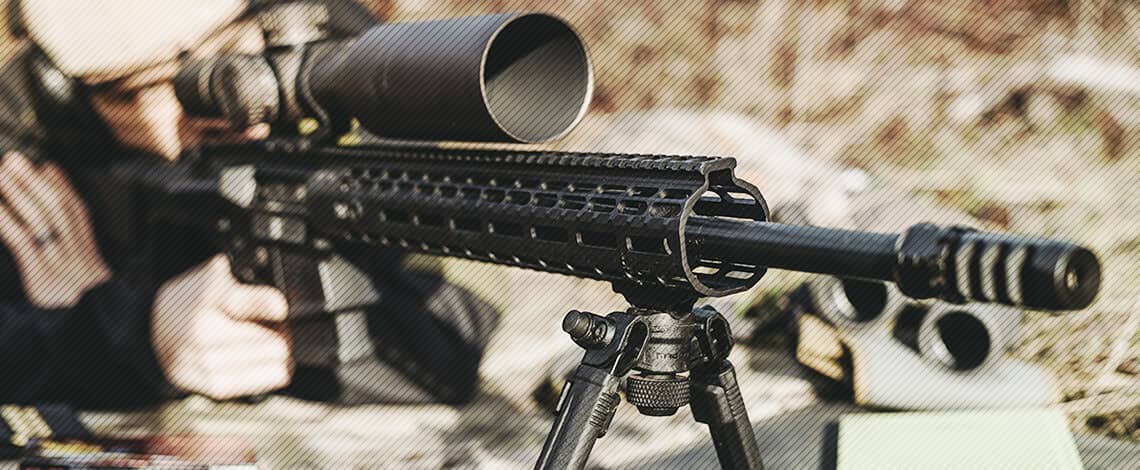
A standing or offhand stance offers the least support, making it one of the most challenging positions. Standing isn't generally recommended for long-range rifle shots — you'll want something more stable, especially for competitive shooting. You might want to practice this stance most at the range, given it's the most difficult to master.
Ensure your cheek is glued firmly to the stock for an accurate shot. Proper stock fit is more critical for this shooting stance than any other. Stand with your feet shoulder-width apart about 90 degrees from your target, relaxing the rest of your body. You can also rest your left elbow on your hip or wrap the sling around your arm for added support. This can improve stability by extending your upper body so you aren't hunched over your rifle.
A supported standing position is highly effective if you have a tool that extends high enough, like a tripod. Ensure your tripod is at shoulder level when performing this stance. You don't want to position the rifle with your muscles — allow the support to do this. The more natural your stance, the better your aim will be.
A standing stance can be useful when you aren't able to shoot kneeling or prone due to brush, deadfall or other obstacles. A tripod allows you to shoot over these to hit your target.
Remember that there are different types of standing stances as well, some better for rifle shooting than others. Below are the three most common standing shooting stances.
Isosceles Stance
The isosceles stance forms an isosceles triangle shape with the arms and chest, hence the name. Remember that “isosceles” means two sides of equal length. To execute the isosceles stance, face the target squarely with your feet shoulder-width, or slightly wider, apart. Fully extend your arms forward with your gun positioned in the middle of your chest. Lean forward and bend your knees slightly.
The isosceles stance is the most popular two-handed shooting stance, particularly for shooting competitions with easy transitions to different targets. However, it's often less ideal for shooting on the move. As the body bounces, anything extended at arm's length will, too. The further the extension, the greater the bounce.
Here are some advantages of the isosceles stance:
- It's easy and natural since you're facing and pointing directly at the target.
- It's ideal for either eye dominance.
- There's more protection when wearing body armor since you're square to the target.
The main drawbacks of the isosceles stance are:
- It may be less stable if you're pushed forward or backward — however, bending your knees and shifting your weight slightly forward can help.
- You're exposed to a bigger target if you're not wearing body armor.
- It's unsuitable for a long gun, making it more of a handgun stance than a rifle stance.
Weaver Stance
The Weaver stance was pioneered by Los Angeles County Sherriff Jack Weaver in the 1950s, then popularized by firearms writer and instructor Jeff Cooper.
Unlike the isosceles stance, the Weaver stance involves more of an angular position to the target and bent arms. It uses opposing forces to control recoil, allowing rapid transitions from target to target. It can also be used with long guns in addition to pistols.
To perform the Weaver stance, place your non-dominant leg in front of your dominant one, leaning forward slightly. With your toes pointed forward, extend your firing-side arm while bending your supporting arm. This stance employs a “push-pull grip" by pushing with your shooting arm while pulling back with your supporting arm.
Here are some advantages of the Weaver stance:
- It provides better recoil management with the push-pull technique.
- It offers more stability and balance since the feet are staggered.
- There's a smaller profile to your target.
Meanwhile, some cons are:
- It can be harder to rotate to your non-dominant side.
- It can be harder for cross-dominant shooters — e.g., left-eye dominant and right-hand dominant — since the two aren't coordinated.
- You expose your side that isn't normally armored if you're wearing body armor.
Chapman Stance
Also called the “modified Weaver stance," the Chapman stance was developed by competitive shooter Ray Chapman. It's not terribly different from the Weaver stance, but your shooting arm is fully extended with your support arm bent downwards. Some shooters also prefer a cheek weld on their upper arm.
The Chapman stance combines the Weaver stance's push-pull method with the Isosceles stance's solid foundation and natural movement. It streamlines pivoting and other movements, making it easier for cross-eye dominant shooters to use than Weaver.
Below are the benefits of using the Chapman stance:
- Your cheek weld and arm stock remain consistent rather than hovering in the air, like with Weaver and isosceles.
- There's better recoil management, as your shooting arm is fully extended.
- It's ideal for cross-eye dominant shooters since the cheek weld helps coordinate the opposite eye with the firearm.
The Chapman stance essentially has the same cons as the Weaver Stance, other than cross-dominant shooting. You also may strain the neck muscles in some instances.
Now that we've covered the different standing shooting stances, let's explore the other three rifle shooting positions — kneeling, prone and sitting.
2. Kneeling Stances
While it isn't as steady as sitting or prone, it's much quicker to assume a kneeling position — not to mention it's far easier than standing. There are two main types of kneeling for shooting — unsupported and supported.
Unsupported
To execute a proper unsupported kneeling position, simply plant your right knee on the ground, then tuck your right foot below your hip. You can either kneel with your right foot flat or against your heel with your toes grounded, depending on how limber you are.
Your left knee should be as high up as possible to ensure controlled breathing, good posture and accurate aim. Place your left elbow on that knee, but not directly on the kneecap, as it can alter your balance. Experts recommend placing it over muscle, like the quadriceps, instead of bone. When kneeling, your firing hand pulls the stock into the shoulder, but the main support comes from the sling and your supporting arm.
The kneeling position gets you slightly higher than sitting. It's also ideal for when you need to shoot quickly, but it's a little too far or difficult to risk firing from a standing position. Hunters often use the kneeling position in waist-high cover. Dropping to one knee fast takes some practice, but it becomes second nature once you get the hang of it. You might also wear protective knee pads to reduce discomfort.
Supported
While kneeling is a good position to practice, it's even more effective if you can kneel behind a bipod, tripod, crossed sticks or even a boulder. The supported kneeling position uses one of these tools to help control your balance and precision.
To assume a supported kneeling position, set your rifle on an object, then use your firing side knee to brace your firing side shoulder. This helps create more points of contact to support the gun and manage recoil.
In more unpredictable circumstances, like hunting or combat, you may have to improvise as you never know what type of object you'll have in front of you. Once again, practice this position as much as possible.
2. Prone Stance
The prone position involves lying down on your stomach behind the rifle. Both elbows should be firmly grounded with your supporting elbow directly under the gun. The gunstock should be in your cheek well.
The traditional prone stance angles the body — right for lefties and left for righties. Meanwhile, the more modern prone position places the body more directly behind the rifle with your dominant-side leg bent slightly. Try out both techniques and go with whichever one feels more comfortable for you.
Bone contact is crucial to an unsupported prone position — don't use muscle to brace your rifle. If you shoot right-handed, your left elbow should be the foundation for your stance and position, and vice versa.
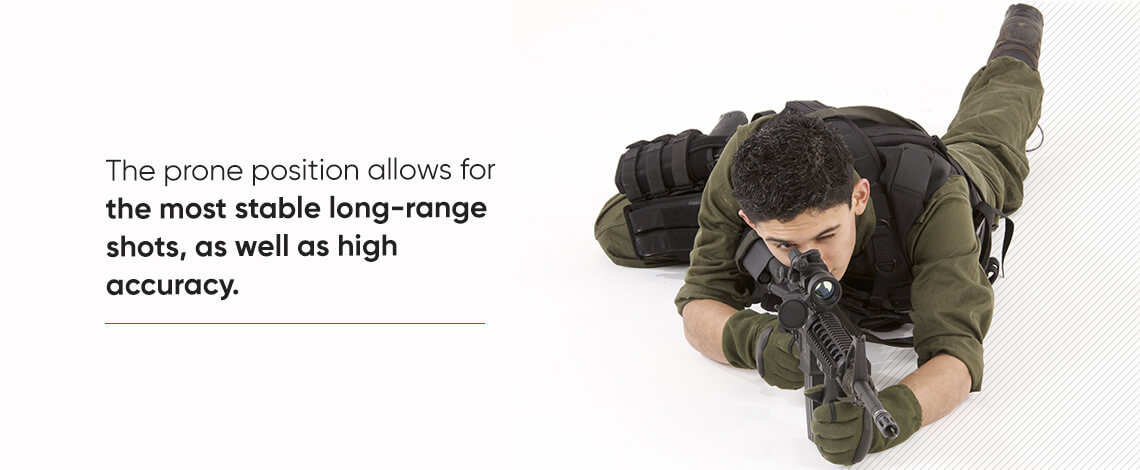
The prone position allows for the most stable long-range shots, as well as high accuracy. However, the low angle isn't always ideal with dense vegetation and other obstacles that hinder visibility. It also takes more time to assume than the other stances. Remember not to attempt standing up while holding the rifle. Place it on the ground, stand up, then pick up the rifle.
You can also support your prone shot by propping up your rifle on a sandbag, log, rock, backpack or even a jacket. Never place the rifle directly on a solid object. Even if you don't have a backpack or jacket, a folded hat or your hand can work.
Build your stance in the manner you would with an unsupported prone position, but prop your rifle on the supporting object. It's also a good idea to use your non-dominant side elbow as a fixed brace.
4. Sitting Stance
A sitting shooting position takes time and practice to master and you'll need to be fairly limber. The steadiest position is to sit cross-legged with your ankles flat on the ground, your body about 45 degrees from the target and your elbows on your knees.
Sling support can help steady your shot as well. Place your non-dominant elbow on your same side knee, then wrap your arm around the sling to hold the rifle. Relaxing the rest of your body as much as possible, press the stock into your shoulder and aim.
There are various tools you can use for a supported sitting shot. Telescopic bipods and tripods are easy to fit in a backpack and quick to set up. Ensure your bipod or tripod is at the correct angle. That way, you won't have to pull your rifle up or down to compensate.
Use the same aiming and shooting technique with your support as you would with an unsupported sitting position. You can also use your sling to create steady tension between the rifle and your body to improve precision.
Which Shooting Stance Should I Use?
Which shooting stance you use ultimately depends on your situation, surroundings and comfort levels. When finding a good rifle shooting position for hunting, for instance, a prone, kneeling or sitting position can be best for lying low. Perhaps you need to know how to shoot in a standing position for a specific competition. Maybe you're simply practicing recreationally and want to work on your precision.
The best way to find a good rifle shooting stance is to experiment with the different types. Find which one is comfortable and easiest for you, as well as what works best with your surroundings. Try out different angles and equipment to find your groove.
You could also take a video of yourself in different shooting stances to study. Most importantly, never hesitate to ask an experienced shooter for assistance. There are many classes you can sign up for and plenty of other shooting resources available, so take advantage of them!
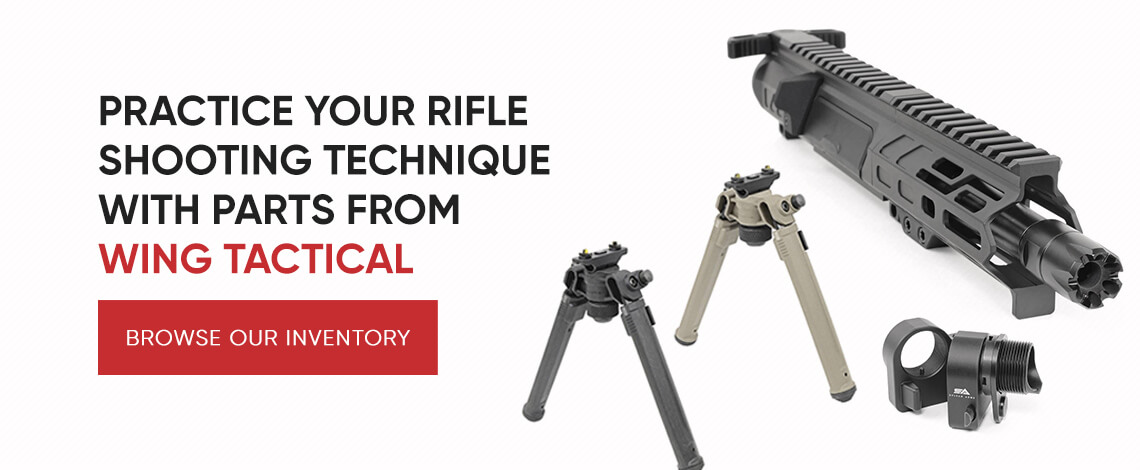
Practice Your Rifle Shooting Technique With Parts From Wing Tactical
Having reliable rifle parts and accessories can help improve your precision and shooting stance. We have a high-quality inventory from some of the best industry brands to choose from at Wing Tactical. We also provide the following benefits and more for our customers:
- Military and law enforcement discounts
- Quick shipping
- Excellent service and satisfaction
- 30-day, hassle-free product returns
Whether you need sights and optics, slings and sling mounts or other gun equipment, we've got you covered at Wing Tactical. Browse our firearm parts and accessories to find what you're looking for today!