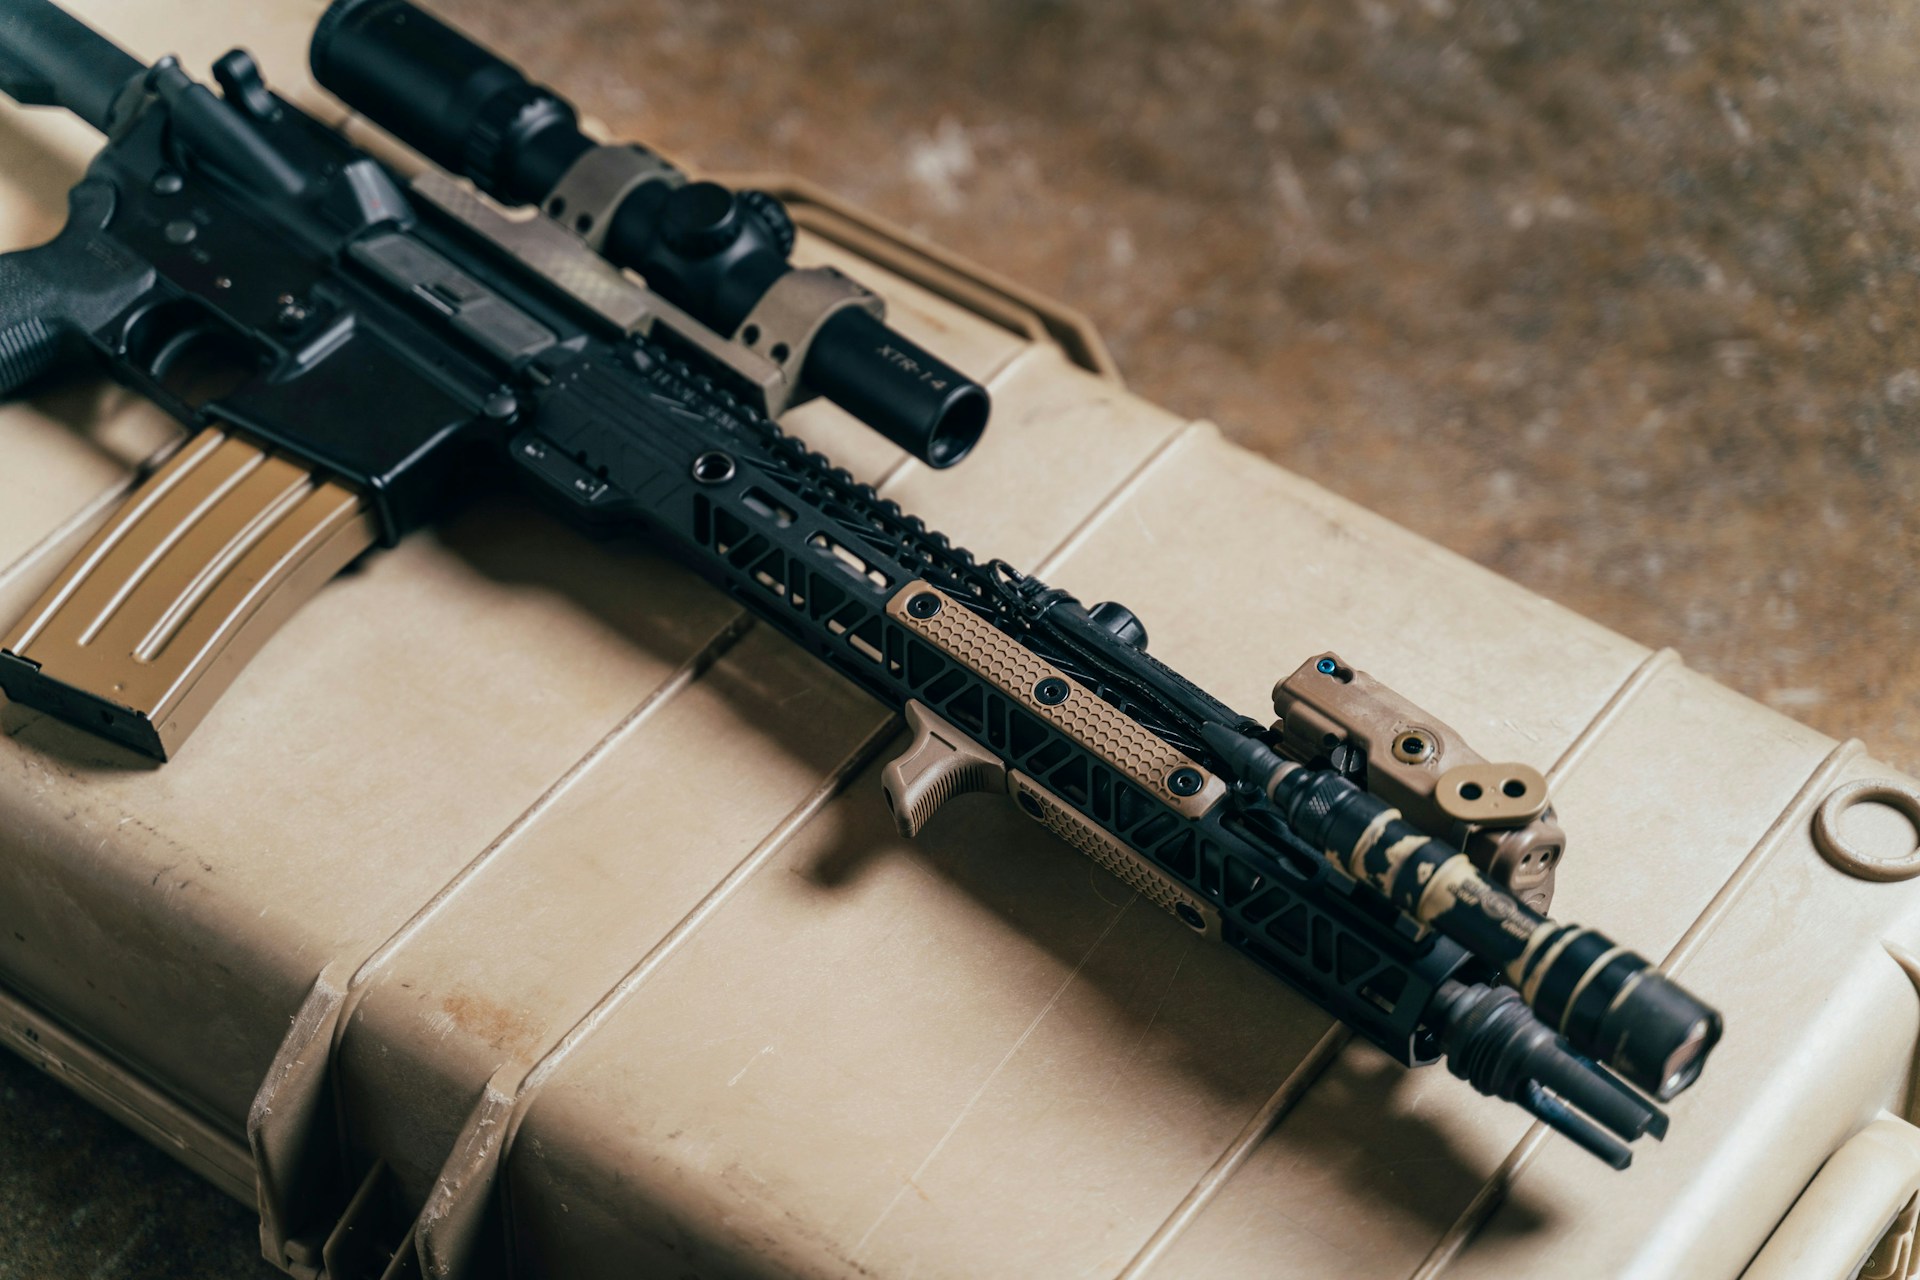
If you own an AR-15, cleaning it regularly will be very important. By cleaning an AR-15, you’ll be able to improve its performance, make it more accurate, and keep it around longer. Here is a guide on how to clean an AR-15.
Gather the Right Tools
When cleaning an AR-15, you’ll need to have the right tools on hand to do it. Some of the tools you’ll want to have handy will include a gun mat, cleaning patches and rags, a bore guide, a cleaning rod or a bore snake, a gun cleaning solvent, and gun lubricant. Each of these tools will be utilized to clean your gun in different ways.
Prepare the AR
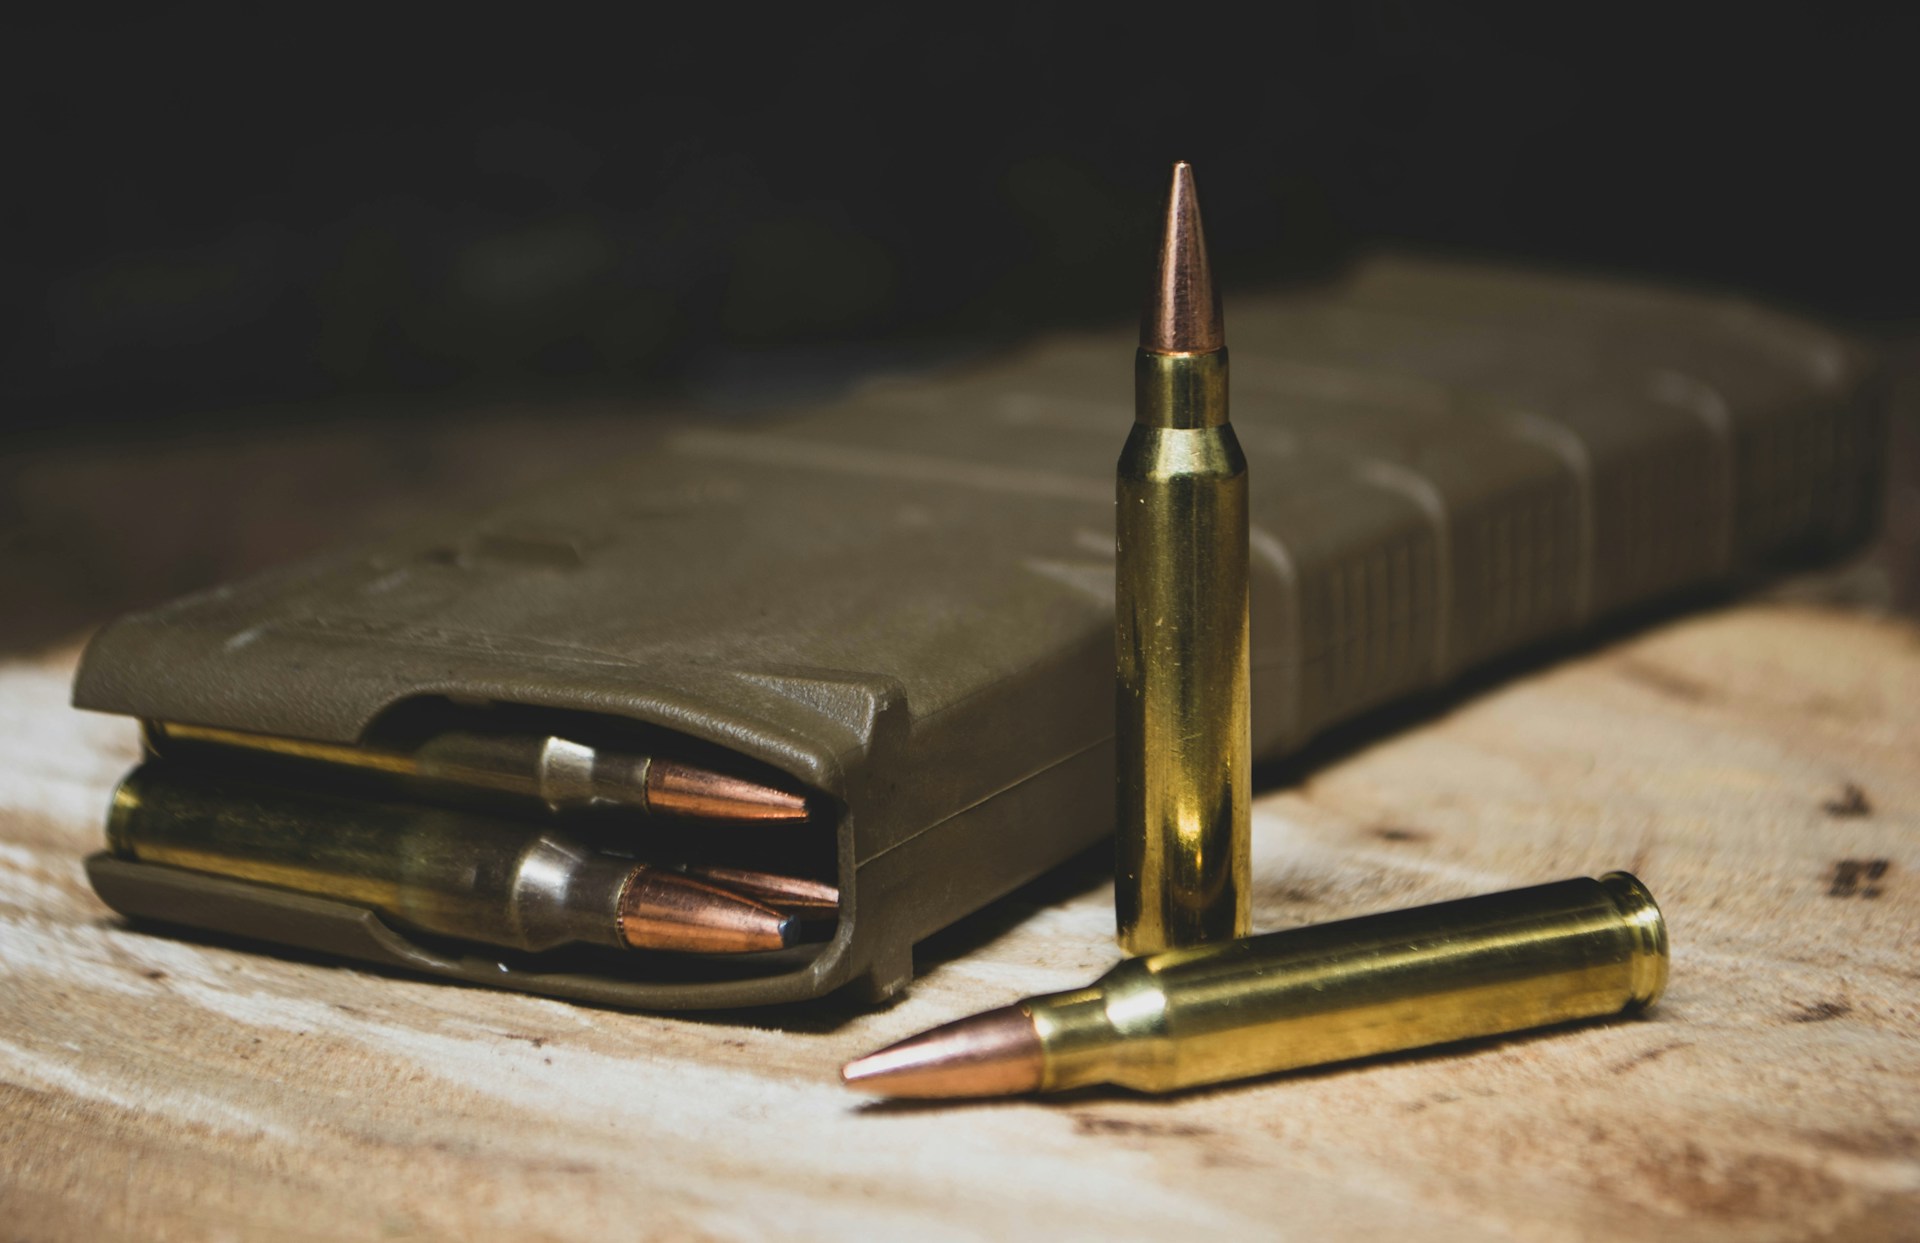
Once you’re done collecting the tools you’ll need to go through with cleaning an AR-15, the next thing you’ll want to do is get your rifle ready to be cleaned. To do this, you should remove the magazine from it and put it in another room to prevent accidents. You should also take a look at your AR-15’s chamber to ensure it’s empty.

Take Apart the Upper and Lower Receivers
After you’ve removed ammo from your AR-15, you’ll be able to safely continue to the first step of disassembling your rifle. Simply push the rear pin out first and then pivot the upper receiver and push the front pin out to separate the upper receiver from the lower one. Be careful, with the receivers separated, the bolt carrier group can freely fall out of the upper receiver.
Remove the Bolt Carrier and Charging Handle
When you have the upper and lower receiver separated, the bolt carrier in the upper receiver should slide right out. You’ll just want to be careful about not letting it fall to the floor since it could get damaged if this happens. You’ll also be able to remove the charging handle from the upper receiver after you get the bolt carrier out of the way.
Cleaning an AR-15’s Barrel and Upper Receiver
When you reach this point, you’ll be able to start actually cleaning an AR-15. You can take one of your cleaning rags and wipe off any grease, grime, and other debris that might be on the upper receiver. You can also place the bore guide into the upper receiver and use a cleaning brush to push a cleaning patch through the bore of your rifle’s barrel. Continue to do this until the barrel looks clean, and then take another patch and soak it with gun oil to lubricate the barrel. Finally, run a dry patch through the barrel. It is important that the bore is dry to prevent excessive fouling. A small amount of oil will be left behind, and that will protect your barrel from rust.

Disassemble the Bolt Carrier and Clean It
Once you’ve finished cleaning an AR-15’s barrel and upper receiver, move on to cleaning its bolt carrier. Doing this will require you to disassemble the bolt carrier by taking out the cotter pin on the left side and allowing the firing pin to fall out before removing the cam pin from it. Turn the cam pin 90 degrees and pull it out, then remove the bolt. You can then use a cleaning rag to remove debris from the bolt, pins, and spiral gas rings. You should also check that the gas key screws on the bolt carrier have not started backing off. This is usually avoided with a properly staked gas key, but it is good to check. Finish this step by lubricating the various parts in a bolt carrier, paying special attention to the parts that move, and cleaning the charging handle.
Clean the Lower Receiver
Figuring out how to clean an AR-15’s lower receiver should be slightly easier than cleaning its upper receiver. Take a cleaning rag and wipe down the different parts of it, including the trigger mechanisms, safety, magazine release, bolt catch, and buffer from the buffer tube. While you’re doing this, keep an eye out for any damage that may have been done to the springs and screws in your AR-15’s lower receiver and replace them accordingly.
Put an AR-15 Back Together and Test It Out
At this point, your AR-15 rifle should be clean, and you’ll be free to put its upper and lower receivers back together so you can test it out. First, you’ll need to reassemble the bolt carrier group by following the steps above in reverse order. Bolt into the carrier, insert the cam pin and turn 90 degrees, insert the firing pin, and then insert the cotter pin. Next, you’ll need to put the charging handle back in place and push the bolt carrier forward. Be sure that the bolt is in the extended position while doing this. From there, you should be able to line up the upper and lower receiver and use the takedown pins to connect them.
As long as everything goes according to plan, you can start testing your AR-15 out to be sure it’s working the way it’s supposed to. You’ll see first-hand how easy cleaning an AR-15 can be, and you’ll be motivated to do it more often from now on.