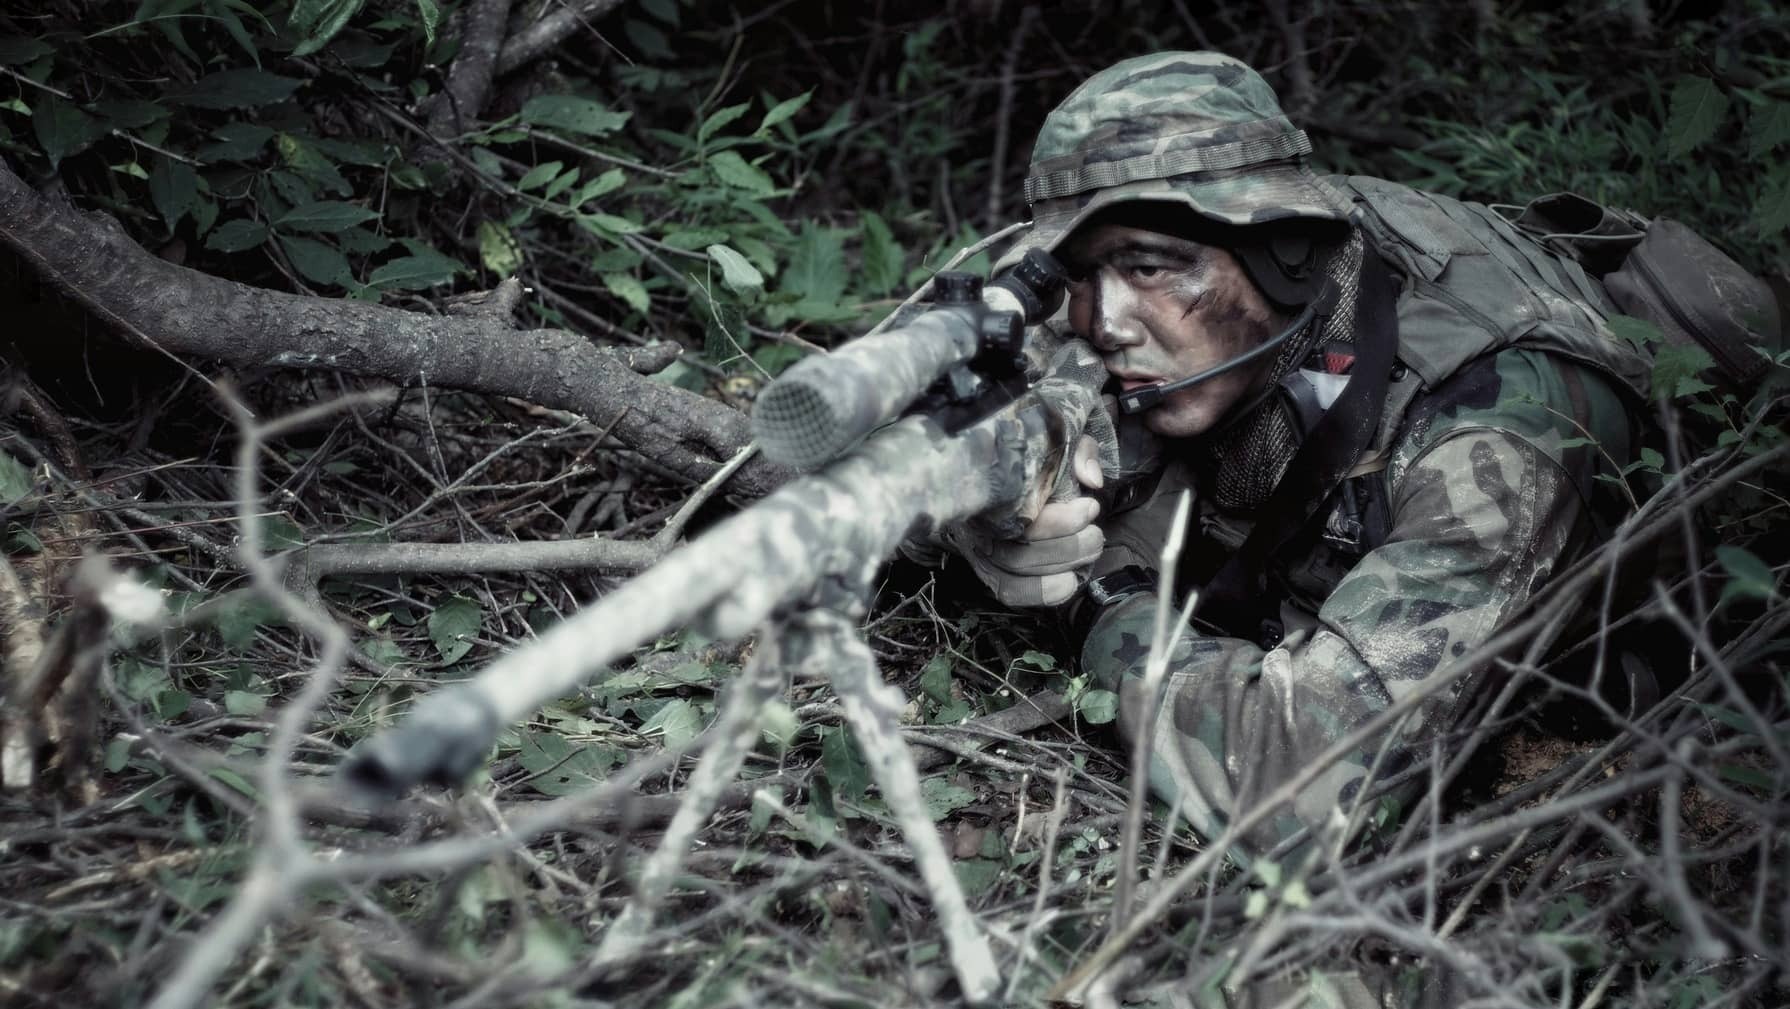
If you’re looking to change the exterior aesthetic of your AR-15 or other rifle, there are countless customization options to choose from. You can find high-quality parts already painted in colors ranging from OD green to blue or gold. However, a tried-and-true method that marksmen around the world stand by is the process of hydro-dipping a rifle. Here, we want to discuss what hydro-dipping is, how it works, and the best parts of a firearm to hydro-dip.
What Is Hydro-Dipping?
Also known as immersion printing, hydro graphics, and water transfer printing, hydro-dipping is the process of printing solid colors, camouflage, or other unique graphics onto three-dimensional items using water. In terms of rifles, it is a versatile and customizable way to camouflage them, providing a durable and high-quality finish that can withstand repeated use.
Furthermore, it allows for a wide range of patterns and colors to be applied, making hydro-dipping a rifle popular among firearms enthusiasts and hunters who want to personalize their firearms. The colors and patterns are limited only by the hydro-dipping options you can find, allowing you to choose something fun or something that increases your camouflage.
How To Hydro-Dip A Gun
The process involves placing a specialized hydro-dipping film with a design in a tank of water. Once the polyvinyl alcohol on the film dissolves in the water, it leaves the pattern floating on the surface of the water in ink. The desired rifle parts are then carefully dipped into the water, allowing the pattern to wrap around and adhere to its surface.
Steps To Hydro-Dipping A Rifle or Other Firearm Part
The exact steps of hydro-dipping a weapon are as follows:
- Prepare and Clean the Part: Begin by unloading and disassembling the firearm and thoroughly cleaning each part to remove any dirt, grease, or debris that might affect the adhesion process.
- Choose Film: Select a hydrographic film featuring the desired camouflage pattern for your rifle. Make sure the film is sized to your corresponding firearm parts.
- Prepare Tank: Fill a clean tank with lukewarm water. It's important to maintain consistent water temperature.
- Activate Film: Lay the hydrographic film flat on the water's surface. Then, use a hydrographic activator to dissolve the film and activate the ink pattern.
- Dip the parts: Begin hydro-dipping each rifle part into the water tank, one at a time, ensuring complete coverage by the pattern. Take care to submerge each part evenly and avoid trapping air bubbles.
- Rinse and Dry: Once the pattern has transferred onto the rifle parts, remove them from the water and rinse them thoroughly with clean water to remove any residue. Allow the parts to air dry completely before proceeding.
- Reassemble: Upon drying, reassemble the firearm.
- Protective Coat: To protect the hydro-dipped finish and enhance its durability, apply a clear protective finish over all parts that were hydro-dipped.
If done correctly, the result of hydro-dipping a rifle should be a customized or camouflaged weapon that is durable, good-looking, and ready for action.
Recommended Rifle Parts To Hydro-Dip
One notable thing about hydro-dipping is that there isn’t a limit to what it can be used for. Essentially, if it’s a hardened, three-dimensional material, the chances are that it can be transformed through this process. This makes hydro-dipping a rifle relatively easy. Furthermore, just because you know how to hydro-dip a gun doesn’t mean that you want to go dunking your whole rifle into the tank, as the dipping process could affect the performance of the rifle. There are also parts where the color is more likely to scratch or wear off due to repeated movements or heat. A few of the best parts include:
- Bolt Handle: Upgrading the bolt handle adds a final touch to the rifle's appearance while enhancing durability against repeated use and handling.
- Magazine: Customizing the magazine integrates it into the rifle's design while adding protection against scratches and dings. This is crucial for rifles used in demanding environments where the reliability of a magazine is essential.
- Stock/Chassis: The rifle part that will change the look of the firearm entirely if hydro-dipped is the stock or chassis. This is because it is one of the largest pieces of the rifle and therefore, the most notable.
- Receiver: Hydro-dipping a rifle’s receiver enhances its visual appeal and complements other hydro-dipped parts.
- Scope/Optics: Dipping scopes or optics helps the customization to fit the rifle's overall design theme. It also adds a protective layer against scratches and environmental factors, ensuring optimal performance in various conditions. Just make sure you tape off the glass so the design doesn’t block your view.
Transform Your Rifle Today
Whether you want to make your firearm stand out, blend into your surroundings, or protect your firearm from wear and tear, hydro-dipping a rifle is the way to go. It’s a safe, easy, and effective way to elevate the look of your firearm, give you an edge in the bush, and enhance the longevity of your rifle. If you have any other questions about how to hydro-dip your gun or for any of your firearm or accessory needs, reach out to Wing Tactical today.